
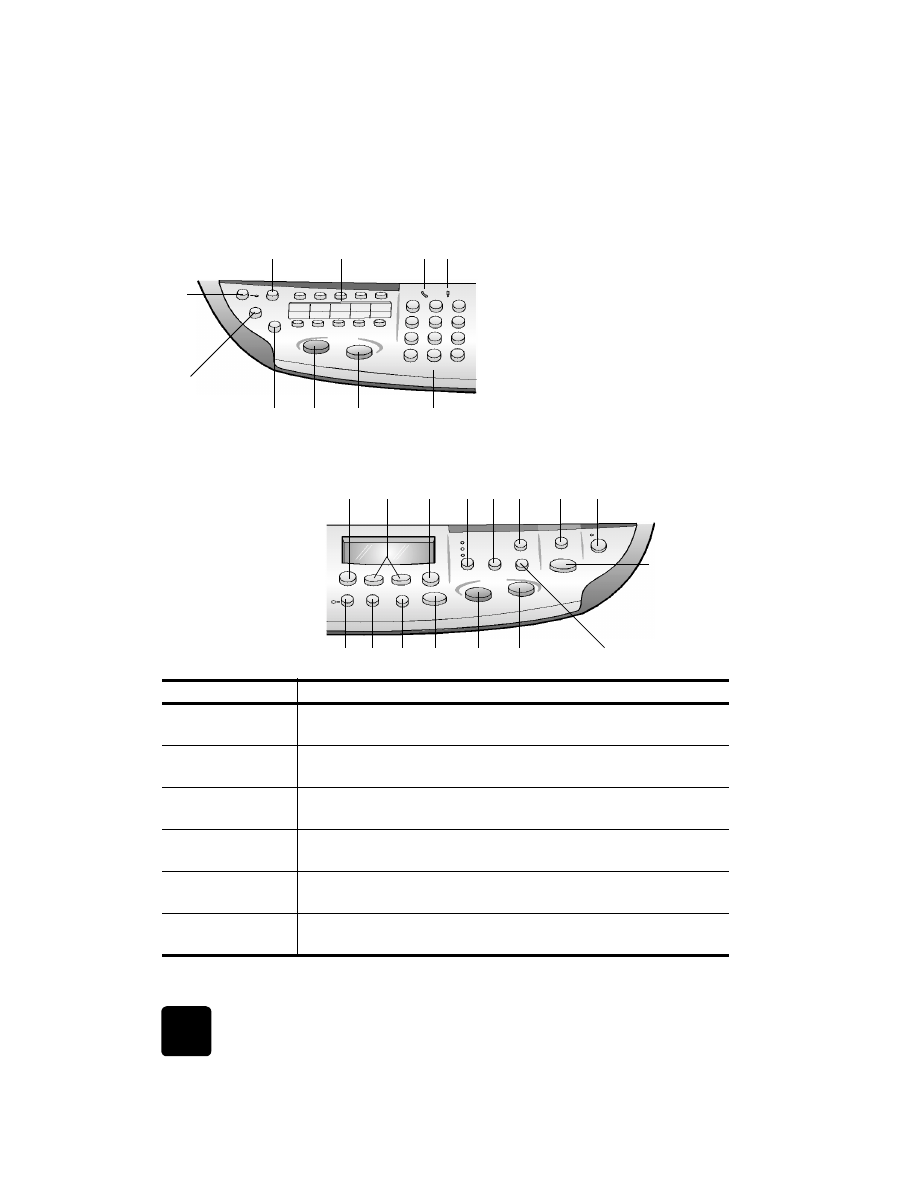
menu button
review
The Menu button lets you enter the menu system that you use to change
photo card, fax, and copy settings, as well as perform maintenance and
print reports.
1
Press Menu.
The first submenu appears, which depends on what model of
HP OfficeJet you have.
2
Press Menu repeatedly to view all the submenus.
The submenus are as follows:
–
0:Photo Card (some models)
–
1:Copy Setup
–
2:Fax Functions
–
3:Print Report
–
4:Speed Dial Setup
–
5:Basic Fax Setup
–
6:Advanced Fax Setup
–
7:Status and Maintenance
–
8:Network Setup (if network hardware is installed, advanced users
only)
Some options are available only on certain models of your
HP OfficeJet.
3
Press Menu.
4
Press 7, then press 1.
This selects Status and Maintenance, then selects the Check Ink Level.
The ink supply levels for both the black ink cartridge and the tri-color
ink cartridge appear in the front-panel display.
5
Press Cancel to clear the front-panel display, if desired.
This concludes the brief tutorial.
Review the rest of this Reference Guide to find out how to make other
changes and use other features.
quick start
8
hp officejet d series